Saturday 22 December 2012

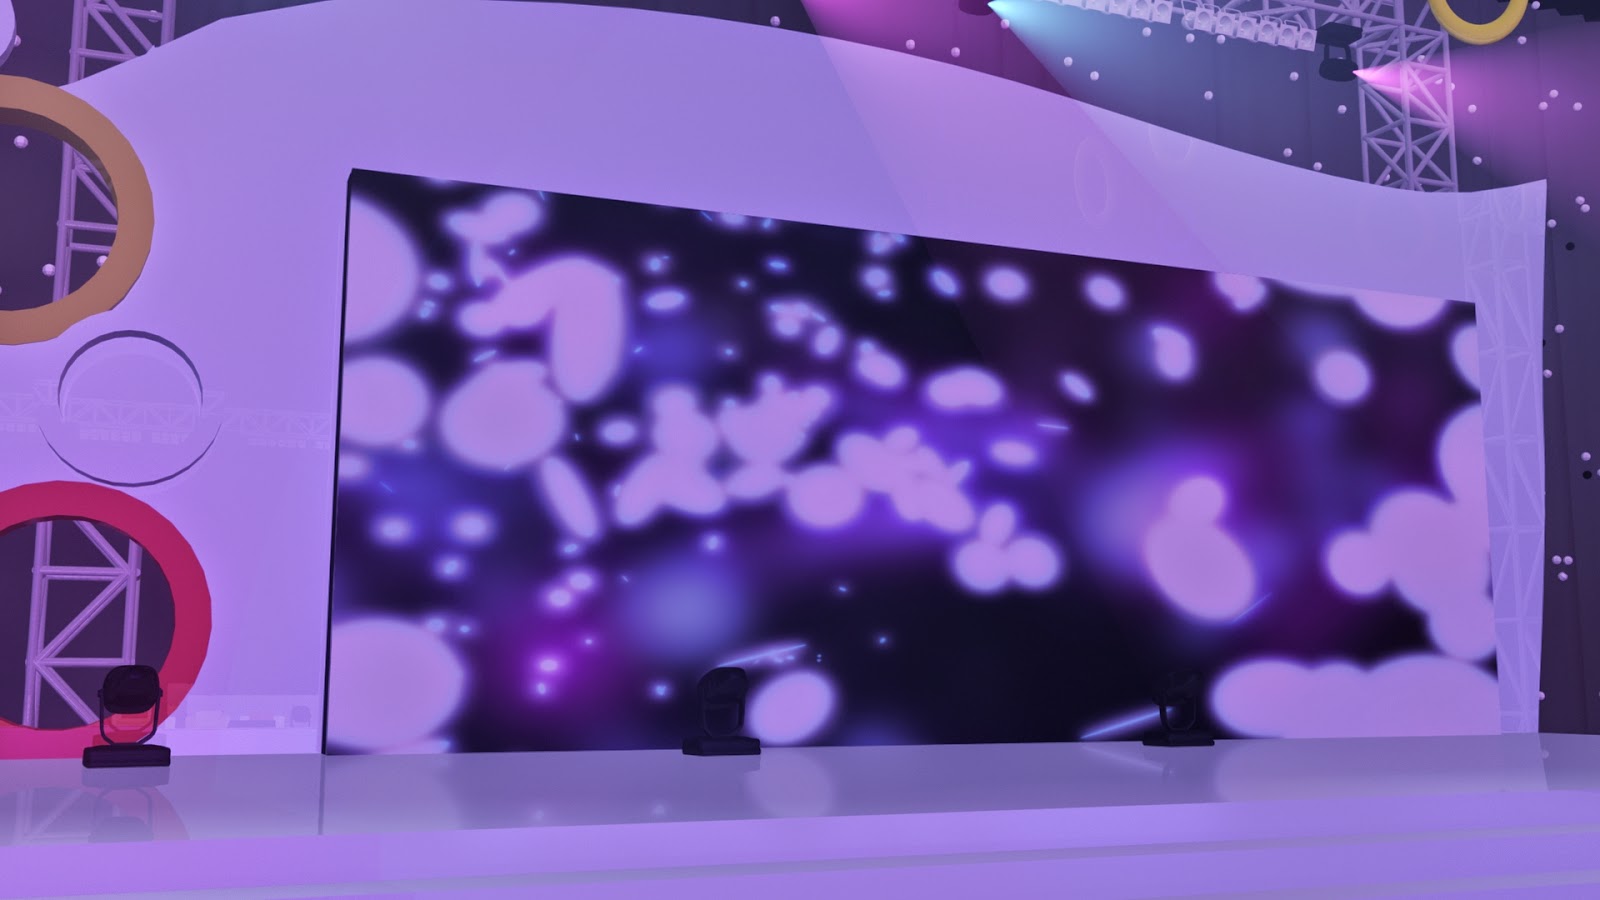
Perfect Pentagon 2012

 Perfect Pentagon 2012

Perfect Pentagon 2012
Event Company Name: Journal Multimedia Sdn. Bhd.
Event Name: Perfect Pentagon 2012
Event Theme:  National Award Night
Software Used: Autodesk Maya 2013
Render Mode: Maya Software
Design for: Perfect Pentagon
Concept by: Journal Multimedia Sdn. Bhd.
3D Artist: IvanSingh
Location: Malaysia, Timesquare Ballroom

Below are a few screenshots of how the stage looks like:

Saturday 17 November 2012

Melilia Event 2012

Melilia Event 2012

Melilia Event 2012
Event Company Name: Journal Multimedia Sdn. Bhd.
Event Name: Melilia Event 2012
Event Theme:  Transform your life, Transform the world
Software Used: Autodesk Maya 2013
Render Mode: Maya Software
Design for: Melilia
Concept by: Journal Multimedia Sdn. Bhd.
3D Artist: IvanSingh
Location: Malaysia

Below are a few screenshots of how the stage looks like:

Monday 22 October 2012

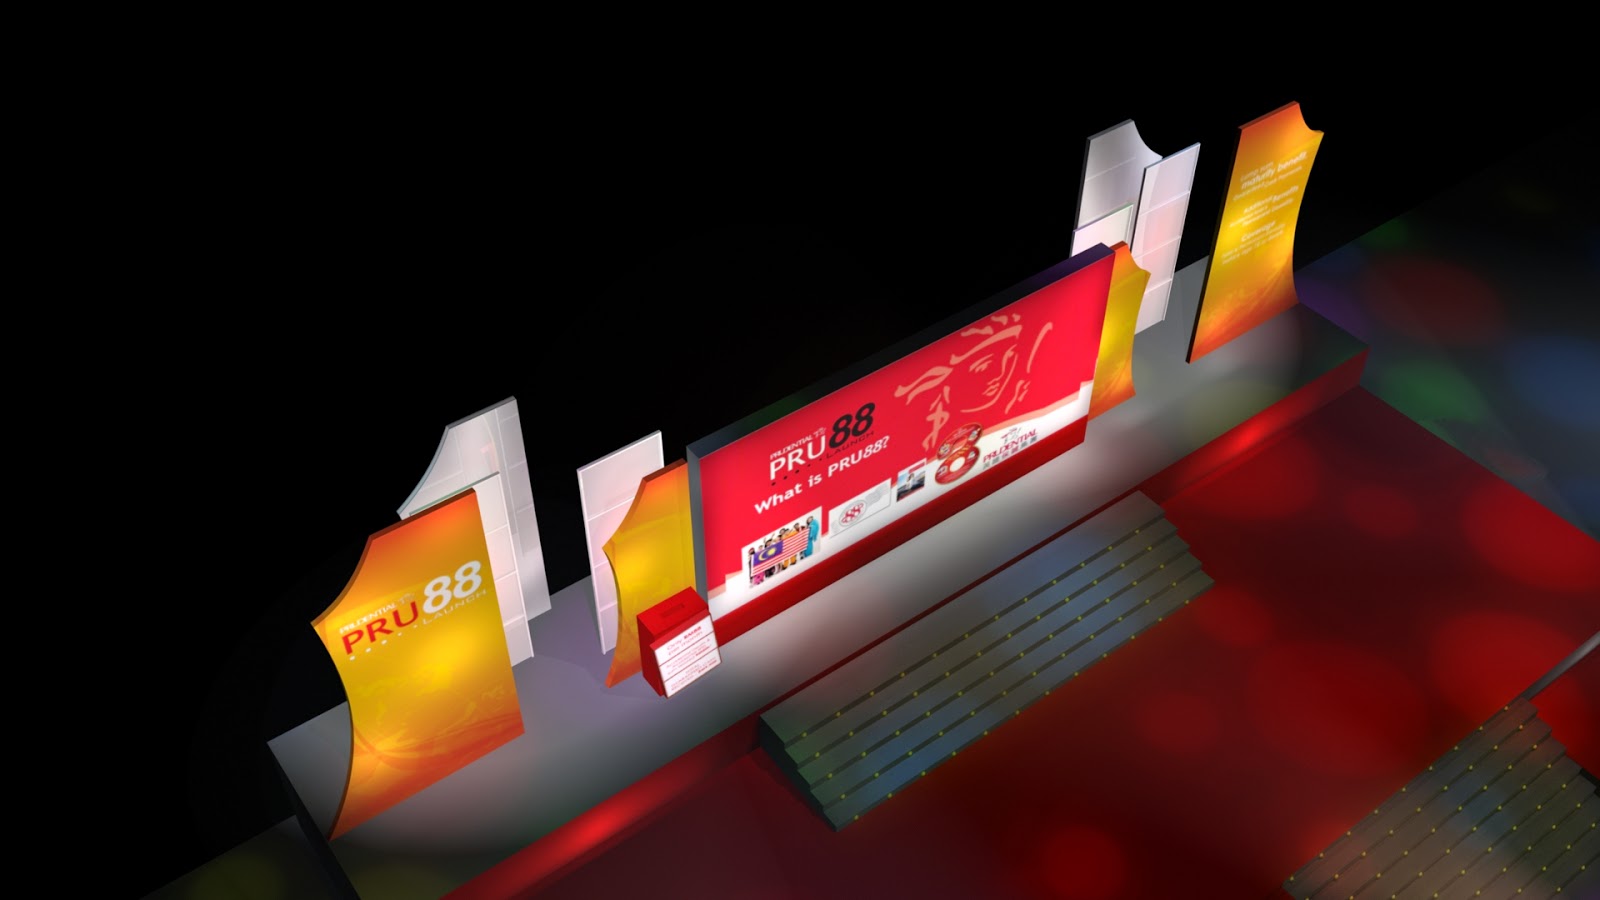
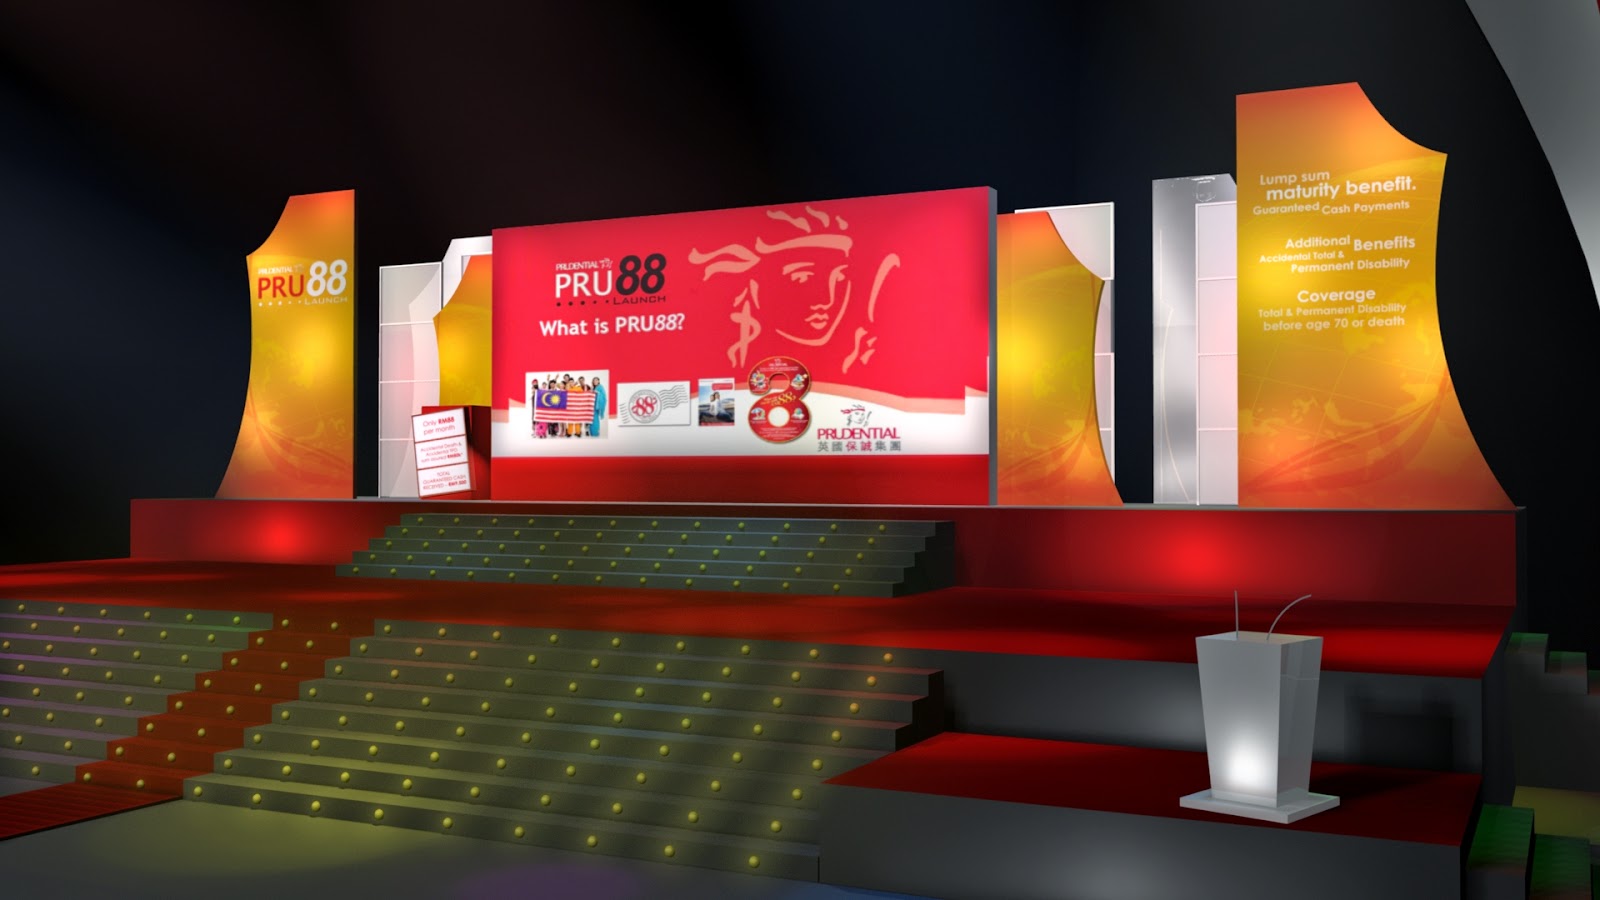
Prudential Stage Design 2012 (PRU 88)

 Prudential Stage Design 2012

Prudential Stage Design 2012


Event Company Name: Journal Multimedia Sdn. Bhd.
Event Name: Prudential Stage Design 2012
Event Theme:  PRU 88
Software Used: Autodesk Maya 2013
Render Mode: Maya Software
Design for: Prudential Malaysia
Concept by: Journal Multimedia Sdn. Bhd.
3D Artist: IvanSingh
Location: Malaysia

Below are a few screenshots of how the stage looks like:


Friday 7 September 2012

Avail Jog Jakarta 2012

Avail Jog Jakarta 2012

Avail Jog Jakarta 2012 Stage Design

Event Company Name: Journal Multimedia Sdn. Bhd.
Event Name: Avail Jog Jakarta 2012
Software Used: Autodesk Maya 2013
Render Mode: Maya Software
Design for: Avail
Concept by: Journal Multimedia Sdn. Bhd.
3D Artist: IvanSingh
Location: Indonesia


For this event, we actually work with an event company in Indonesia. It took approximately almost a week just to set up the entire stage. We actually face a lot of challenge for this event due to we had a lot of changes for the schedules. We also did the recognition award animation slides in Jakarta. Below are a few more screenshot of the event stage.


That's pretty much for the event in Indonesia. What I have learn from this event is that, even though that the workload for setting up this event is a lot, I realize in the end, all the hard work actually paid off. The event was fun and very motivating at times.

Sunday 15 July 2012

My 1st Job Experience as an Event Stage Designer

Good Day Everyone, what I am about to post here is my very first job experience in the working environment.

My very first job was being a 3D stage designer in an Event Company. I have basically 2 role when I was working in this company. My first role as in production side was to modeling out a stage design for client. Once the stage has been modeled, we proceed to do a presentation to the client regarding the stage designs.

During the modeling process, we as a team in the event company share idea throughout the process to build up the stage design. Now, once the client accepted the stage. I as a 3D stage designer have to start creating the layouts and measurements of the entire stage. The software that I have used to create the layout is called Adobe Illustrator. As for the 3D stage design, I have used Autodesk Maya.
That's pretty much all my role during the production side.

Now, I am going to move on to the Setting up of the stage few days before the actual event starts. My 2nd role in this company, was being a "Stage Management". The responsibility of this role is to observe and guide the carpenter's to build up the stage according to the layout plan that I have drew. In this role, there is always a obstacle somewhere during the process of building up the stage, such as size differences, lack of equipments, and many more. When an obstacle happen, I will then need to find alternative ways to build it up as per shown in the layout plan.

Oh and I forgot, during the event session, I also did a role to guide our clients to follow the schedule that is set from the client's side, such as before the actual event starts, the CEO of the company have to make an entrance into the stage before the opening of the event, followed by the 2nd as per shown in the schedule list.

Now, there are quite a sum of company that we assist to organize their event but I am just going to list out a few event stage.

 Below are the list of company that we work with:
  • AIA
  • Avail
  • Easecox
  • Melilia
  • Amway
  • Perfect Pentagon
  • Prudential
  • Allianz


Saturday 14 April 2012

My 2nd animation work

 Short Animation Called "A walk in the park"

Good Day, in this post I will be posting out my 2nd short animation video that I have created. Now in this video, I was actually using my old computer to render up the scenes which took approximately almost 3-4 weeks for the entire scene to be rendered out due to the low specs of my old computer.I do apologies for the low quality of the video, I had to lower down the size of the video in order for me to upload it here successfully.

Scenario:
Every morning, Ivan goes to the park and have a relaxing walk. He likes to be on highlands to see the scenery of the entire park. In the park, there is an hill side where he normally climbs up to enjoy the scenery. One day while he was in the park on his way to the hill, it was blocked by a rock slide. He was shocked to see that the entire path was blocked but he did not give up, instead he climbs those rocks to get to the top of the hill.


Animation Title: A walk in the park
Render Settings: Mental Ray
Software Used: Autodesk Maya 2012
Reason for developing this video:
  • To improve my skills in animation
  • To improve rigging skills
  • To understand the concept of developing an animation
  • To understand facial expressions of characters
  • To understand the movements of characters 
During the process of developing this animation, I started off by creating the storyboard of this animation scene. Right after that, I started modeling all the character that is required for this scene. I have also modeled out the environment parts on this scene such as the land, the rocks, bench, lamp post and so on. Once all the modeling process is done, I proceed to do some further research regarding animation face expressions and the rigging process.

After much research is done, I proceeded to do the character rig's. Just to provide the meaning of rig's here is basically the bone structure of the character. Without rig's, I will not be able to control the movements of the body parts of the character. Now once the rig's has been completed. I though I was good to start with the animation, but soon I realise that when I move the rig's itself, other parts is moving as well.

As usual, did some research and found out, I had to do the "Skin Weights" before proceeding to the animation process. Now this "Skin Weights" is kind of a annoying process that we animation have to go through but then again, after much work has been done. It ended up worth it.

Since the "Skin Weights" has been completed, I then proceed with the movements and saving the key frames of each movement of character's.
That's basically all the challenges , new tools, new features that I have gone through. It is very interesting process where I get to learn new things from time to time by practicing in creating animation. I will upload more animation video in future. :)

Monday 26 March 2012

AK-47 3D Model

3D Modeling (AK-47)


Model: AK-47
Software used: Autodesk Maya 2012
Render Mode: Mental Ray
Reason for modeling:
  • To understand the concept of 3D modeling
  • To understand the tools used to design a model
  • To practice modeling in a very fast pase
  • To understand and produce real time render image

Good Day everyone, today I am going to post out one of my models that I have done via a blueprint.
I got the blueprint online and started to trace it through the background in Autodesk Maya. The most common tools that I have used for designing this 3D models are Polygon cube, Extrude, Insert Edge Loop Tool, Boolean, and many more.

Below are a few more screenshots of the AK-47 models:


As you can see from the picture above, the way how I modeled this AK-47 is by parts. During the process, I actually thought what I have modeled would not come out as what I have though it would be, but the end result amaze me and did not realize I would be able to produce this much. :)

Wednesday 8 February 2012

My very first short 3D animation video :) (Special Garage)


This is my very first animation video that I have made after my college. It's not all attractive nor it will be a very great animation compare to the other's I have seen but I believe practice makes perfect. :)

Scenario:
This animation is called "Special Garage". There is a reason why I have chosen this as a title for this animation.
This particular Garage was in the middle of the housing area. One night, a strange mechanic that is controlled by a frog like creature appeared out of nowhere and entered the strange "Garage". Right after entering the Garage, the slide door closes. Once the mechanical object entered the Garage, it teleports the frog like creature to an unknown basement.

Once, it was in that basement and started to test out his firing power. There was a car in the scene that was parked in the middle of the basement. It started to get to a position stands to hold the force of the firing threshold and started firing on the vehicle.

             I started off by creating a storyboard for this animation. Once the storyboard has been completed, I started drafting out the animation in Autodesk Maya. The reason for developing this animation is to expose myself to understanding how an animation is being develop and also understanding the process.

             Now I am just going to explain of the overall work that I have done on this particular project. The software that I have used to develop this animation is "Autodesk Maya 2012". As for the Visual Effect on the video was created through "Adobe After Effects CS4".

             The character and props was modeled in Autodesk Maya 2012. Once all the modeling is done, I started to key in the movements in the animation tab. When I was in the process of doing the key movement on the character, I had to analyst the way of how character would react on certain situations. It's hard to explain this part, basically what I am trying to say is, to make the character looks realistic in term of the poser, the movements, the stands, the balancing of the body.

            Once the animation has been completed, I started going to render stage. Now the rendering settings I have choosen for this animation, is the basic "Maya Software" configuration. I rendered using Jpeg sequence due to it is much safer, if anything were to happen during the rendering process, I can actually stop on that particular jpeg sequence and proceed from there.

            After days of rendering, it has finally been completed. I proceed to bring all the jpeg sequence to the "Adobe After Effect" application to start adding in Fire effect and making it into a video. I have added in the fire effect by using a fire effect from green screen. From there, I added it into the scene and remove the green screen by using a tool called "Keylight" from After Effects.

           Once all that have been completed, I proceed to rendering and set it to a video configuration. Thus, that's my very first animation experience.